Showing posts with label pinterest. Show all posts

Monday, February 11, 2013

Hey Good Lookin', What's Cookin?

Hehe. I'm so clever. But you wanna know what's more clever? These cute little cupeycakes. Yes I just said cupeycakes. They are just too cute, I can't help it.

During the hours I spend on Pinterest, I found the recipe for Chicken Pot Pie Cupcales here. I made a few modifications based on what I had on hand.

Chicken Pot Pie Cupcakes 
Adapted from: Heather  
Featured on: Sunny Slide Up  

2 cups of cooked chicken breasts diced (being the lazy college kid I am, I opted to buy pre-cooked, frozen chicken breast that was already diced. Thanks for doing all the hard work for me Tyson))
1 can cream of chicken soup (again went for a low fat, less sodium option here)
1 cup frozen mixed veggies (didn't mess with this part, gotta get those veggies in there)
1 can biscuits (I bought a 4 pack and just used one, but the original recipe calls for 2. Being as I was the only one eating them, I was afraid to make too many.)
Sprinkle of pepper (Original called for a bunch of spices I didn't have, I also don't like when things get too salty)
Sprinkle of cheese (Original calls for 1 cup, I felt that was a bit much since I scaled back the number of biscuits I made)

1. Preheat oven to 400
2. If chicken is frozen cook according to package instructions
3. Make sure you use a big bowl here! Add cooked chicken, frozen veggies and soup. Mix it all up.
4. Spray muffin pan
5. Put biscuits in the pan. I flattened them and then put them in, but do however you please.
6. Scoop mixture into the biscuited pan. Yes, I'm making up words here.
7. Add pepper and finish with as much cheese as you you
8. Bake for 8-10 mins

Notes: You kinda have to watch them, because depending on the biscuits you are using, they all bake at different times. Also they might bubble over since this original recipe was intended for more biscuits.

And now for you visual learners:

I know this looks gross, but keep going, it gets way better!
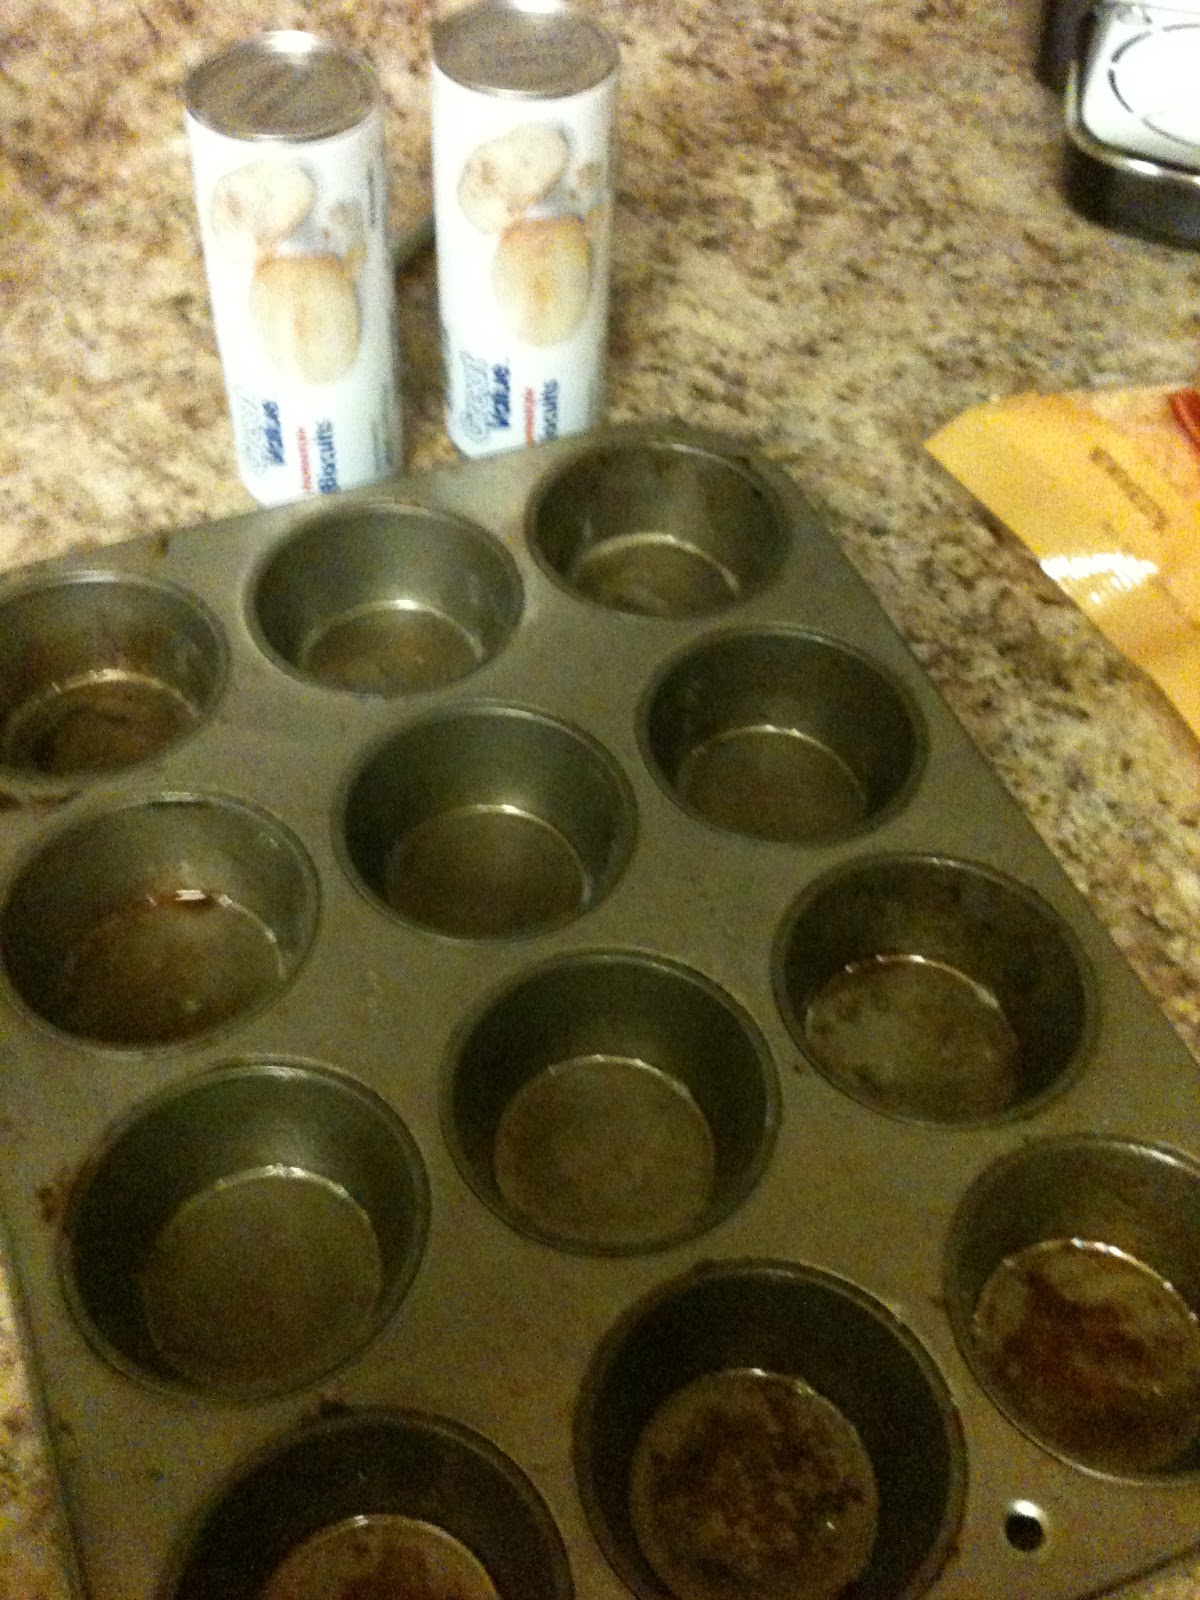
Spray good!

Pile all the yummy stuff in. Try to make it as even as possible.
Bake 'em up.
Now the most important part: post to social media and brag to all your friends. Because that's what cool people do of course.
Lucky for me, I have some leftovers for the rest of the week. Hooray! I love that this is a fast, easy meal. It's nice to be able to throw together some simple ingredients and make a warm meal. This will be made more now. I think I can even get my roommates to eat it to, as long as I do some without the veggies.

I have my first clinical observation hour tomorrow at 8am. Going to the high school. If I remember correctly just about everyone hates that time of day. Should be fun! 

Ashlyn 


Sunday, February 10, 2013

Saw it on Pinterest

This so called "Sharpie Mugs" have been all the rage on Pinterest. Some work better than others, but this one I found to be the most helpful. I had made a few with different markers and they faded fast. I just took the writing off with nail polish remover and put the mug aside until I could get better markers.

I like the mugs from the Dollar Store. I'm sad to say that I am there wayyy too often. I just can't help it, everything is a dollar.

After the first round of mugs fading, I knew I needed something different. I talked with someone at Micheal's and they recommended the Sharpie Paint Markers, that are oil based. Guess who had some awesome coupons and saved ten bucks? ME!

I also nabbed some fancy graphite pencil we used in art. I had a few ideas in mind and I want to be able to trace something and have it go onto the mug before taking a marker to it. This worked very nicely after a few attempts.

This mug is a gift for my youth director. It's part joke but she also partly said she wanted an "I heart Honey Boo Boo" mug. I am hoping for a nice finished product to surprise her with!

Here is how I did it: 

I typed up what I wanted and printed it out. This was the easy part.


Cut it down to size so it would go on the mug. Also, very easy.


Take that fancy graphite pencil and trace on the back of the paper. I put it on the window so I could get a nice trace. I also went over it another time to make it dark. 


Why on the back you ask? So when you type it on the mug, the words are the correct way. Any tape works, it just happened I had painters tape handy. And I knew it wouldn't rip the paper.

Why is she tracing the front of the paper? It's to put pressure on the paper and get the tracing you did on the back to go on to the mug.

 After you take the paper off the mug will look like this.

Then just go over it with the paint markers. And don't worry if you make a mistake, it wipes off with a little nail polish remover.
I think it turned out pretty good! I just need to throw it in the oven after waiting for it to dry for at least 24 hours. Based on a few articles I've read, I bake my mugs at 325 degrees for 40 mins. You must put the mug in the oven while it preheats so the mug warms up with the oven. You might need to adjust the time based on how long your oven takes to preheat. Be sure to keep an eye on them to make sure they don't turn yellow, another problem I've read. After 40 or so minutes turn the oven off, but leave the mugs in there to cool. I made the mistake of touching a mug after it cooled down and it smudged it. I touched it up and I will send it back in the oven with this mug here. I can't say for sure if these guys are safe for the dishwasher, but I will try it and let you guys know!

I'm gonna go watch the Grammy Red Carpet for now and later tune into Honey Boo Boo. Enjoy the last few hours of your weekend, friends!

Ashlyn

Wednesday, January 9, 2013

T-Shirt Blanket

Today friends I would like to share a very special blanket with you. I present the T-Shirt blanket! I am one of those people who has a hard time letting go of shirts, especially if there are good memories attached to them. After seeing these guys pop up all over Pinterest and knew I needed to make my own.

Wait Max, sit there and let me take your picture.
Since I'm so nice and kind, I thought I would share the steps I took and my recommendations with y'all! 

 -Save shirts that you find to have meaning to you or are from something special, like a trip or school event. 

-Take your time! This is big. I am very impatient and it was hard for me to really slow down because I just wanted to finish it. If you rush your blanket will end up sloppy. 

-Use a template. After looking at all your shirts, decide what size you wanna make the square tiles. These will have to be the same or the blanket won't turn out correctly. 

-Locate a rotatory cutter or sharp sewing scissors. Cotton shirts are difficult to cut. Trace your template on to the shirt and cut along those lines.

-After you cut all the squares, start laying them out and figuring out where you want each one to go. Once you have a piece for each shirt, start pinning them into rows. Now sew them together.
 
-Once you have sewed all the squares together you will need to decide what kind of material you want to put on the back. I have heard of people using double the amount of t-shirts and using that as the back. For my blanket I choose to use a flat bed sheet. My mom picked up a full sheet from Walmart that had lots of colors to match my shirts. I like the feeling of the sheet because it is cool and I tend to always be warm. Good combo for me, but pick something that suits your needs. 

-Pin both sides together and sew. This explains itself. Again take your time!

-The last thing you need to do (what I finished today) "tack" it together. Tacking meaning sew the corners of the squares together and through the backing. That's the best I can explain that step. Sorry guys. 

And then I could get him off of it...

But I didn't mind because he was super cute.

Ta da!! All done. I started this project last Memorial Day, but soon realized I got myself into a big mess. Grandma to the rescue! She took almost the whole thing apart and resewed it together. When I sewed it the first time, I had trouble lining all the seems up and making it look nice and neat. My mom wanted it to look nice so it's something I could be proud of and keep for years. Needless to say, I'm very happy with the end result!
Now this blanket needs to be washed before I can take it back to curl up with at school. But I might take a nap with it first. Mhmmm tempting.....  

Ashlyn