
 | |
| Wait Max, sit there and let me take your picture. |
-Save shirts that you find to have meaning to you or are from something special, like a trip or school event.
-Take your time! This is big. I am very impatient and it was hard for me to really slow down because I just wanted to finish it. If you rush your blanket will end up sloppy.
-Use a template. After looking at all your shirts, decide what size you wanna make the square tiles. These will have to be the same or the blanket won't turn out correctly.
-Locate a rotatory cutter or sharp sewing scissors. Cotton shirts are difficult to cut. Trace your template on to the shirt and cut along those lines.
-After you cut all the squares, start laying them out and figuring out where you want each one to go. Once you have a piece for each shirt, start pinning them into rows. Now sew them together.
-Once you have sewed all the squares together you will need to decide what kind of material you want to put on the back. I have heard of people using double the amount of t-shirts and using that as the back. For my blanket I choose to use a flat bed sheet. My mom picked up a full sheet from Walmart that had lots of colors to match my shirts. I like the feeling of the sheet because it is cool and I tend to always be warm. Good combo for me, but pick something that suits your needs.
-Pin both sides together and sew. This explains itself. Again take your time!
-The last thing you need to do (what I finished today) "tack" it together. Tacking meaning sew the corners of the squares together and through the backing. That's the best I can explain that step. Sorry guys.
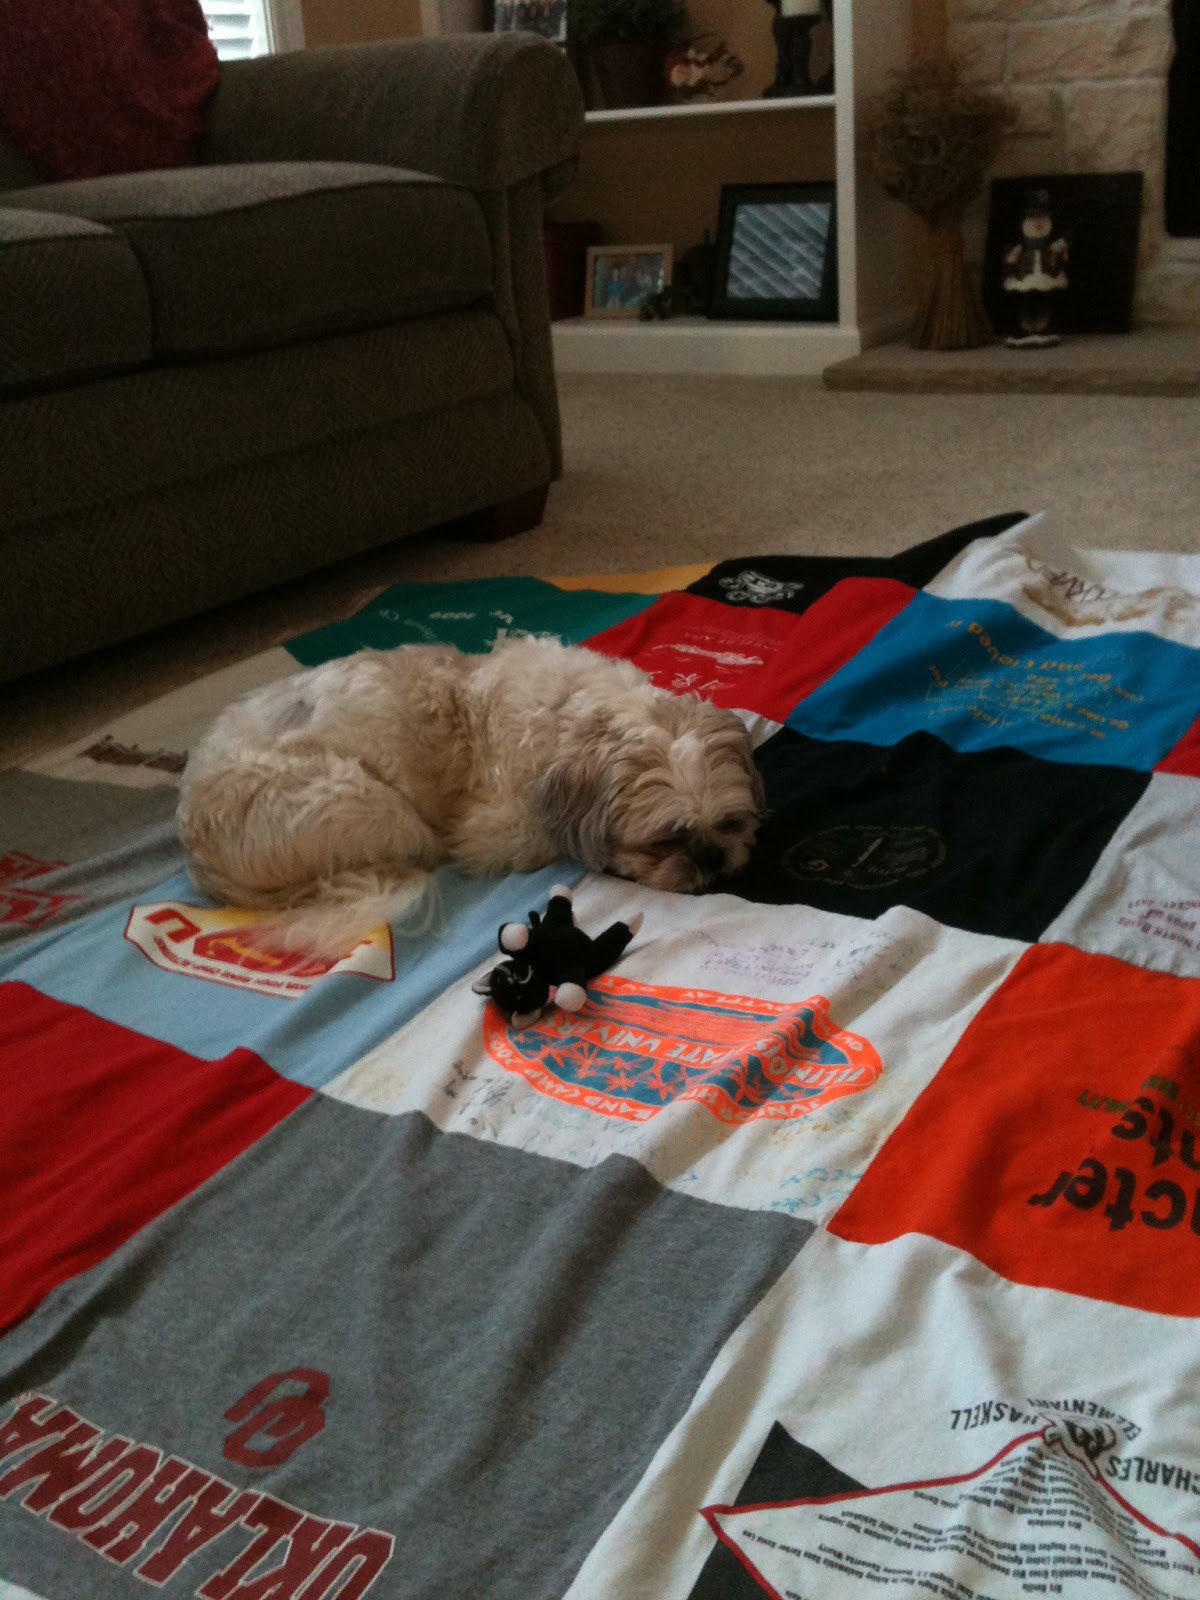 |
| And then I could get him off of it... |
 |
| But I didn't mind because he was super cute. |
 | ||
| Ta da!! All done. I started this project last Memorial Day, but soon realized I got myself into a big mess. Grandma to the rescue! She took almost the whole thing apart and resewed it together. When I sewed it the first time, I had trouble lining all the seems up and making it look nice and neat. My mom wanted it to look nice so it's something I could be proud of and keep for years. Needless to say, I'm very happy with the end result! |
Ashlyn
No comments:
Post a Comment